

React Native FlatList Pagination –
Pagination is the process of separating data into different pages and in this tutorial will explain you “How to Implement Pagination in React Native” or how to add pagination to your flatlist while scrolling, we implement the pagination without using any third party library.
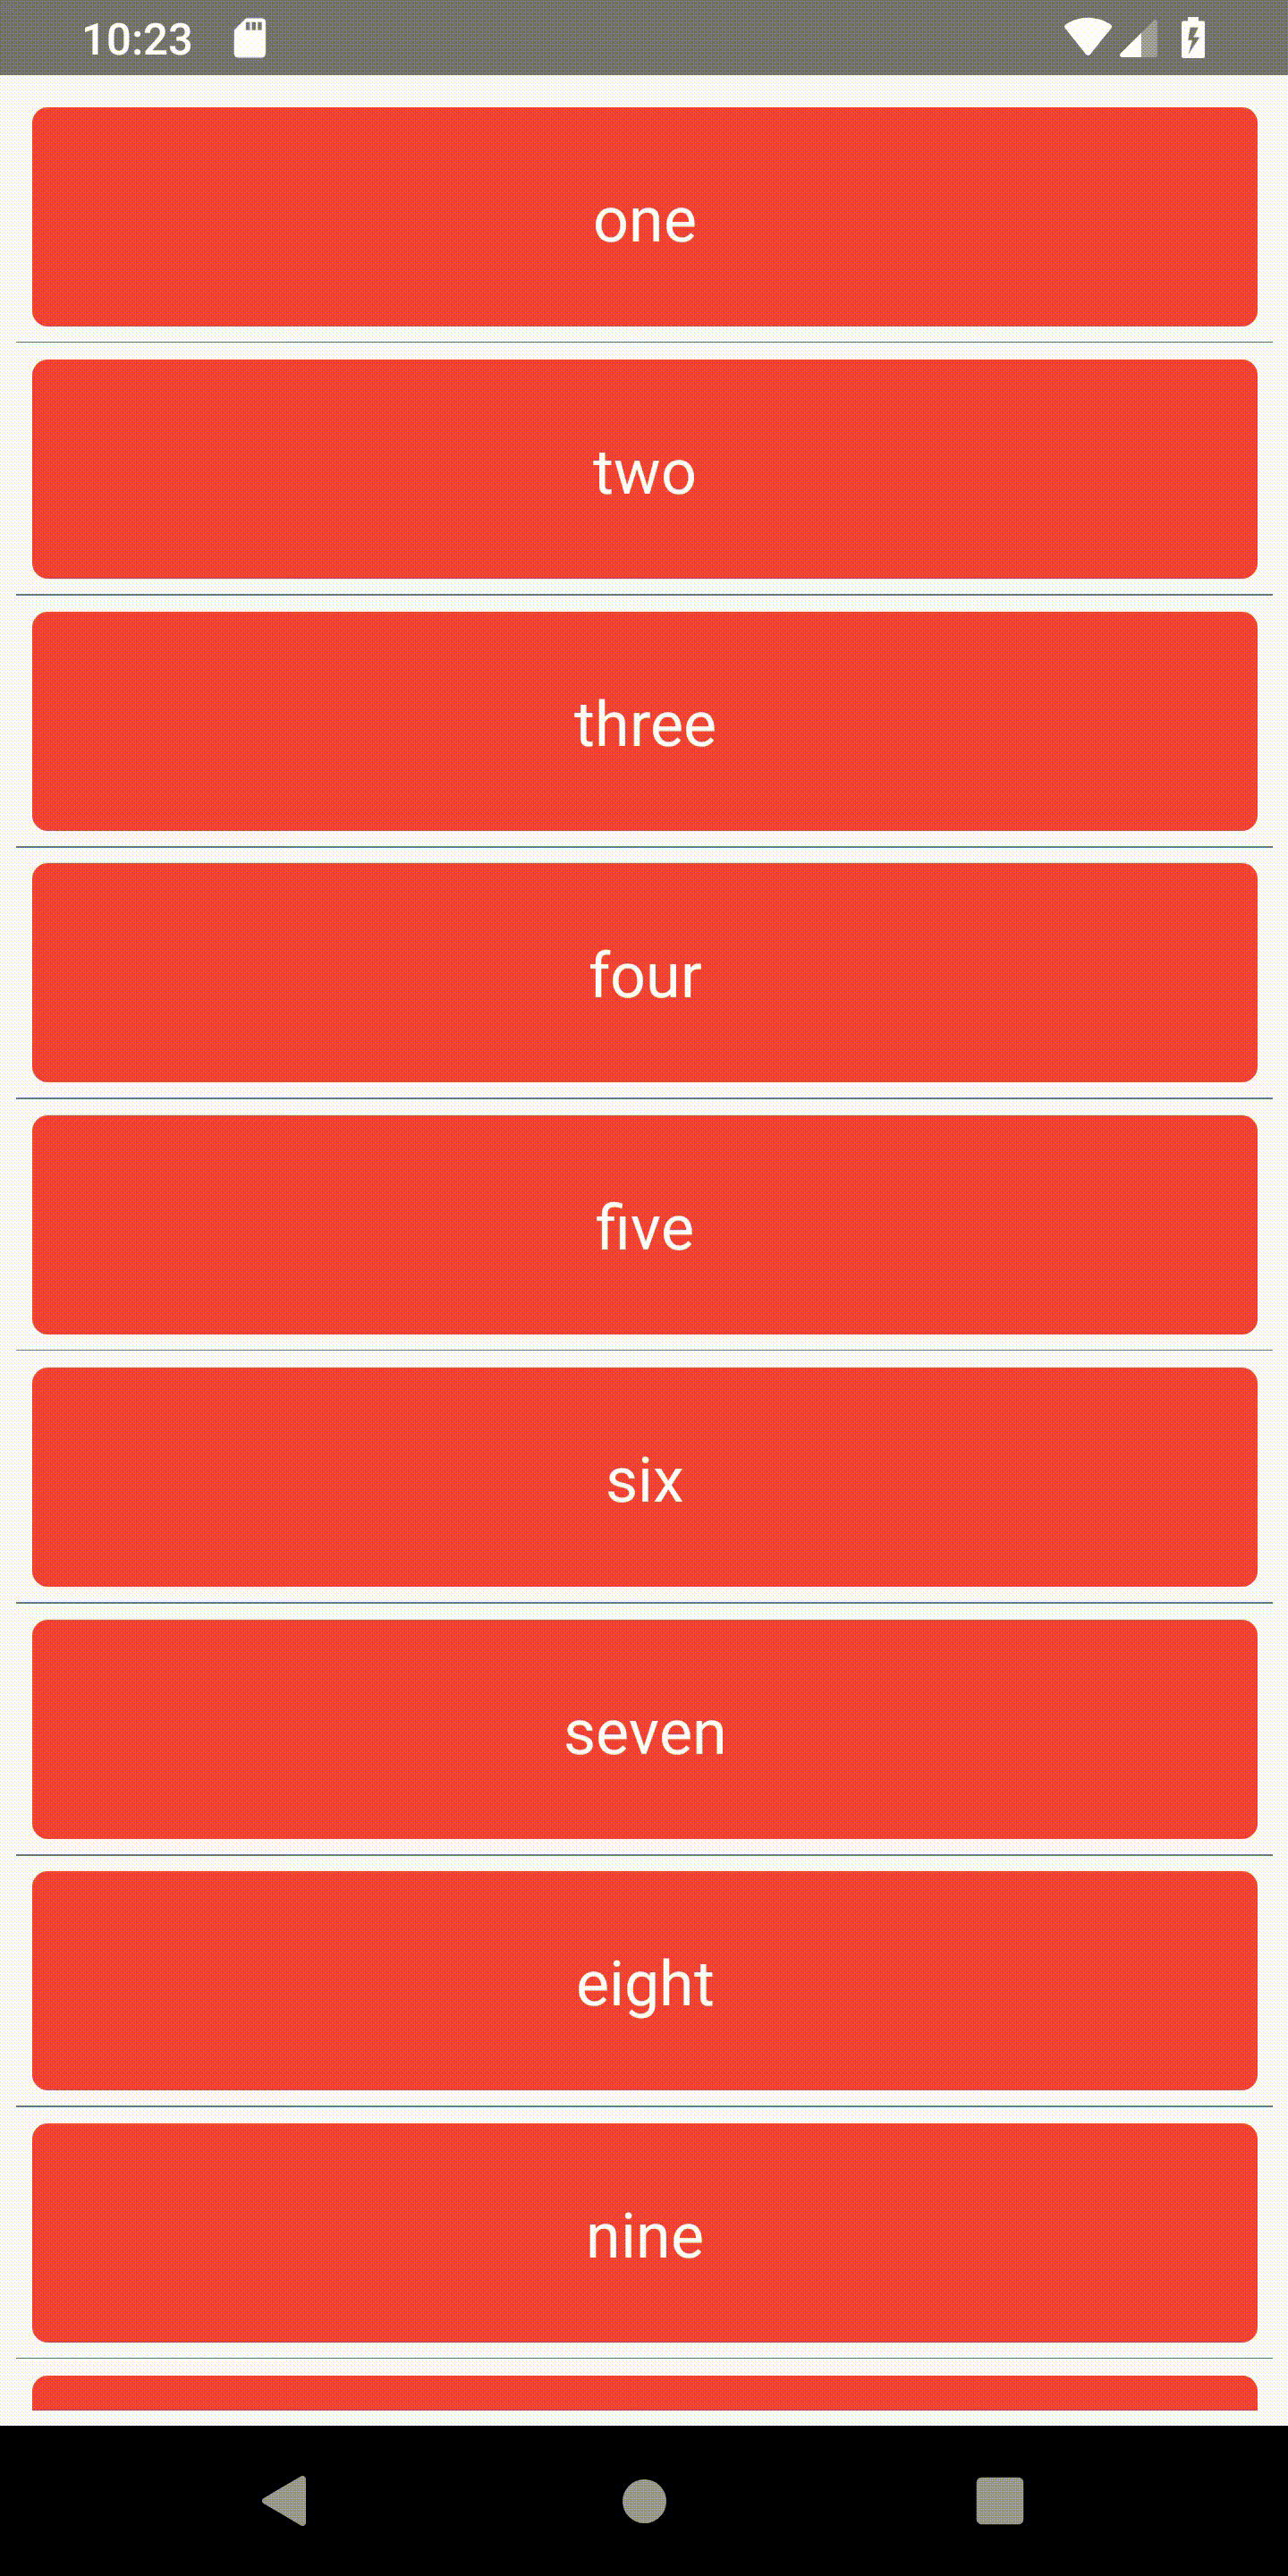
Output Example –
Importance of pagination –
Pagination is a very important part when you need to load a lot of data, just take a example where you can simply imagine what if Facebook/instagram/twitter or any other app loads all the posts from the his database to your wall? then you know what happend? It will take hundreds of hours even more than that to load it, so what is the best way to load the data is simply pagination.
When you open any social site they just show you 10-20 post and while you scroll the they load the next 10-20 posts in the background. That is what the pagination is, so here we are going to implement it, let’s start.
Step 1 – Creating react native project
The first thing we need to do as always is create a new React-Native project, use the command below.
react-native init paginationStep 2 – State declaration
Here we declare the state for data storing, current page, next page and loading show.
export default class Children extends Component {
  constructor(props) {
    super(props);
    this.state = {
      isLoading: false,
      studentData: [],
      currentPage: 1,
      lastPage: 0,
    };
  }
Step 3 – API calling for listing
Here you call the rest API first then store the data in state student and show it on flatlist and load only 10 data at a time remaining load at each time when we scrolling.
getChildrenApi(standard) {
    this.setState({isLoading: true}, async function() {
      NetInfo.fetch().then(async state => {
        if (state.isConnected == true) {
          let param = JSON.stringify({
            page: 1,
          });
          let res = await fetch(fetch('https://randomuser.me/api/?
          results='+param))//URL of your API
          this.setState({isLoading: false}, async function() {
            if (res.status == 200) {
              if (
                res.data != null &&
                res.data != undefined &&
                res.data.length > 0
              ) {
                this.setState({
                  studentData: res.data,
                  lastPage: res.pagination.total_pages,
                });
              } else {
                this.setState({studentData: []});
              }
            } else {
              this.setState({isLoading: false});
              if (res.msg == undefined) {
              Alert.alert('something_went_wrong');
              } else {
                 Alert.alert('msg');
              }
            }
          });
        } else {
          this.setState({isLoading: false});
          Alert.alert('no_connection');
        }
      });
    });
  }
Step 4 – Designing the view
Here we design the view where in flatlist we integrate the pagination functionality.
render(){
 return(
     <View style={{}}>
                    <FlatList
                      style={{backgroundColor: Colors.white}}
                      showsVerticalScrollIndicator={false}
                      data={this.state.studentData}
                      numColumns={3}
                      ListFooterComponent={() => (
                        <View style={{marginBottom:(300)}} />
                      )}
                      extraData={this.state.studentData}
                      renderItem={({item, index}) =>
                        <Text>{item.username}</Text>
                      }
                      onScroll={e => {
                        let paddingToBottom = 10;
                        paddingToBottom +=
                          e.nativeEvent.layoutMeasurement.height;
                        var currentOffset =
                        e.nativeEvent.contentOffset.y;
                        var direction =
                          currentOffset > this.offset ? 'down' : 'up';
                        if (direction === 'up') {
                          if (
                            e.nativeEvent.contentOffset.y >=
                            e.nativeEvent.contentSize.height -
                            paddingToBottom
                          ) {
                            if (!isLoading && currentPage < lastPage)
                             {
                              console.log('next page');
                              this.setState({isLoading: true});
                              setTimeout(() => {
                                this.lodeMoreData();
                              }, 1000);
                            }
                          }
                        }
                      }}
                    />
               {isLoading && (
                 <View style={{width: '100%',height: '100%',
                 alignItems: 'center',justifyContent: 'center',
                 position: 'absolute'}}>
                <ActivityIndicator size="large" color={'white'} />
          </View>
        )}
  </View>
 )
}
Step 5 – Pagination integration
Here we are going to integrate the pagination when you call the API, it gives the 10 data per page, as input we send the page number to rest API, till that loader is loading.
lodeMoreData() {
    let nextPage = this.state.currentPage + 1;
    this.setState({isLoading: true}, async function() {
      NetInfo.fetch().then(async state => {
        if (state.isConnected == true) {
          let param = JSON.stringify({
            page: nextPage,
          });
          let res = await fetch('https://randomuser.me/api/?
          results='+param);
          this.setState({isLoading: false}, async function() {
            if (res.status == OK) {
              if (
                res.data != null &&
                res.data != undefined &&
                res.data.length > 0
              ) {
                this.setState({
                  studentData: [...this.state.studentData,
                  ...res.data],
                  currentPage: nextPage,
                });
              }
            } else {
              this.setState({isLoading: false});
              if (res.msg == undefined) {
              Alert.alert('something_went_wrong');
              } else {
                Alert.alert(res.msg);
              }
            }
          });
        } else {
          this.setState({isLoading: false});
          Alert.alert('no_connection');
        }
      });
    });
  }
Step 6 – Run tha app
To run the project on an Android Virtual Device or on iOS simulator
react-native run-android
     or
react-native run-ios
So we completed the react native pagination functionality which is “How to Implement Pagination in React Native“.
You can find my post on medium as well click here please follow me on medium as well.
You can find my next post here.
If have any query/issue, please feel free to ask.
Happy Coding Guys.

Hi, I am a professional Ionic and React Native Pixel Perfect App Designer and Developer, with expertise in Client Communication, Bug Fixing, Third Party Lib, Version Control Tools, Requirement Understanding, and managing teams, I have 6+ years of experience in the same domain as well as in Codeigniter, JS, IoT, and more than 10 other languages. For the last 6+ years, not a single day went without design/development.
Please follow me on Medium: https://nehadwivedi1004.medium.com/

