
Introduction –
Here we are going to discuss “How we share the images in React Native”. we all know the importance of social media. and near about every app using the sharing functionality in his app.
So today we see how we implement the image sharing, app URL, website URL, and other data sharing functionality in react native.
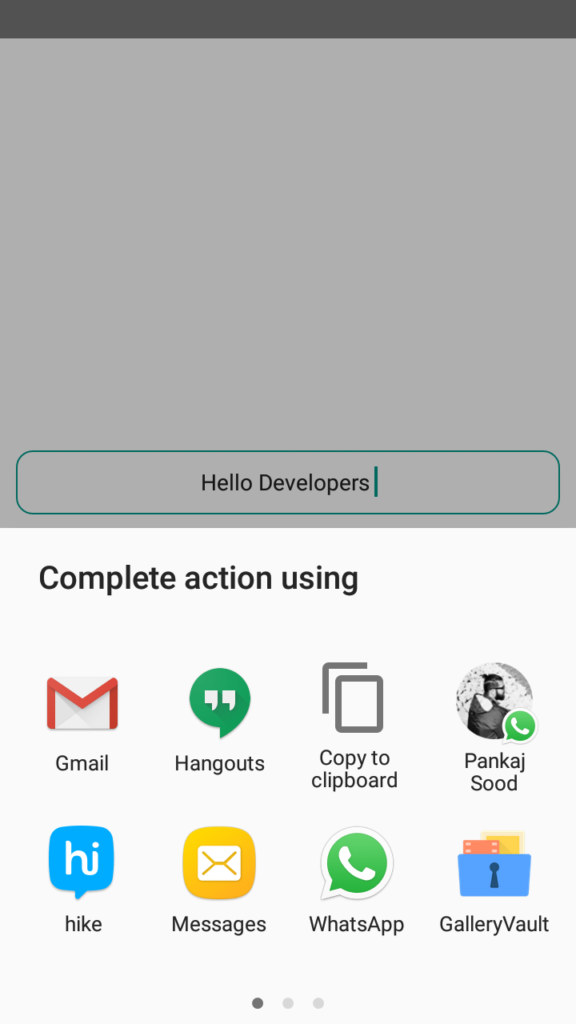
Output Example –
What is share functionality –
For making our application more user impacted it is important that we implement the share functionality in our app.
First, we must know why users need to implement the share functionality in their app. if we talk about users’ perspectives then sharing content is important in the following way.
- Build interesting content which you share with users.
- Building a platform for sharing content in your social network or your other network.
Users can share the data from their business perspective as well. it is like an indirect form of telling users about your product in place of your mouth.
So for implementing share functionality in react native I am going to use a third-party npm plugin.
as we know the react-native also provides the share API but that one is limited it cannot provide all the functionality, so we are going to use the react-native-share.
so let’s start implementing share functionality in our app.
Step 1 – Installation
First, we need to install the third-party npm plugin.
npm install react-native-share
                or
yarn add react-native-share
You need to install one more plugin because for the purpose of sharing image you first need to convert it into base64, that’s why we need to install one more.
npm install rn-fetch-blob
                or
yarn add rn-fetch-blob
Step 2 – Import
After installing the npm plugin successfully, now we need to import that plugin into your file.
import Share from 'react-native-share';
import RNFetchBlob from 'rn-fetch-blob';
Step 3 – View Design
Now we are going to create the view of share data where you click to apply sharing functionality.
render() {
return (
<TouchableOpacity
style={{
  borderWidth: 0,
  left:(5),
  top:(2),
}}
onPress={() =>
  this.shareTheProductDetails(images)
}>
<Icon
   style={{
     left: moderateScale(10),
   }}
  name="share-2"
  color={colors.colorBlack}
  size={(20)}
/>
</TouchableOpacity>
)}
Step 4 – Function Definition
Here we are going to provide the definition of the shareTheProductDetails() function where we implement the functionality of data sharing.
shareTheProductDetails(imagesPath) {
    let {productDetails} = this.state;
    let imagePath = null;
    RNFetchBlob.config({
      fileCache: true,
    })
      .fetch('GET', imagesPath.image)
      // the image is now dowloaded to device's storage
      .then((resp) => {
        // the image path you can use it directly with Image component
        imagePath = resp.path();
        return resp.readFile('base64');
      })
      .then((base64Data) => {
        // here's base64 encoded image
        var imageUrl = 'data:image/png;base64,' + base64Data;
        let shareImage = {
          title: productDetails.product_name, //string
          message:
            'Description ' +
            productDetails.product_description +
            ' http://beparr.com/', //string
          url: imageUrl,
          // urls: [imageUrl, imageUrl], // eg.'http://img.gemejo.com/product/8c/099/cf53b3a6008136ef0882197d5f5.jpg',
        };
        Share.open(shareImage)
          .then((res) => {
            console.log(res);
          })
          .catch((err) => {
            err && console.log(err);
          });
        // remove the file from storage
        return fs.unlink(imagePath);
      });
  }
Step 5 – Complete Code
Here we see the complete code of image and data sharing.
import Icon from 'react-native-vector-icons/Feather';
import Share from 'react-native-share';
import RNFetchBlob from 'rn-fetch-blob';
import React, {Component} from 'react';

const fs = RNFetchBlob.fs;
class ProductDetail extends Component {
  constructor(props) {
    super(props);
    this.state = {};
  }

shareTheProductDetails(imagesPath) {
    let {productDetails} = this.state;
    let imagePath = null;
    RNFetchBlob.config({
      fileCache: true,
    })
      .fetch('GET', imagesPath.image)
      // the image is now dowloaded to device's storage
      .then((resp) => {
        // the image path you can use it directly with Image component
        imagePath = resp.path();
        return resp.readFile('base64');
      })
      .then((base64Data) => {
        // here's base64 encoded image
        var imageUrl = 'data:image/png;base64,' + base64Data;
        let shareImage = {
          title: productDetails.product_name, //string
          message:
            'Description ' +
            productDetails.product_description +
            ' http://beparr.com/', //string
          url: imageUrl,
          // urls: [imageUrl, imageUrl], // eg.'http://img.gemejo.com/product/8c/099/cf53b3a6008136ef0882197d5f5.jpg',
        };
        Share.open(shareImage)
          .then((res) => {
            console.log(res);
          })
          .catch((err) => {
            err && console.log(err);
          });
        // remove the file from storage
        return fs.unlink(imagePath);
      });
  }

render() {
return (
<TouchableOpacity
style={{
  borderWidth: 0,
  left:(5),
  top:(2),
}}
onPress={() =>
  this.shareTheProductDetails(images)
}>
<Icon
   style={{
     left: moderateScale(10),
   }}
  name="share-2"
  color={colors.colorBlack}
  size={(20)}
/>
</TouchableOpacity>
)}
}
Step 7 – Run the app
Now you can run your app and see your share functionality.
react-native run-android

react-native run-ios
So we completed the react-native share functionality which is “How we share the images in React Native“
You can find my next post here.
You can find my post on medium as well click here please follow me on medium as well.
If have any queries or issues, please feel free to ask.
Happy Coding Guys.

Hi, I am a professional Ionic and React Native Pixel Perfect App Designer and Developer, with expertise in Client Communication, Bug Fixing, Third Party Lib, Version Control Tools, Requirement Understanding, and managing teams, I have 6+ years of experience in the same domain as well as in Codeigniter, JS, IoT, and more than 10 other languages. For the last 6+ years, not a single day went without design/development.
Please follow me on Medium: https://nehadwivedi1004.medium.com/