Importance of socket programming –
In today’s era everyone want a chatting system in his app, this is a very basic functionality of so today we are going to discuss “How to integrate socket in react native app“.
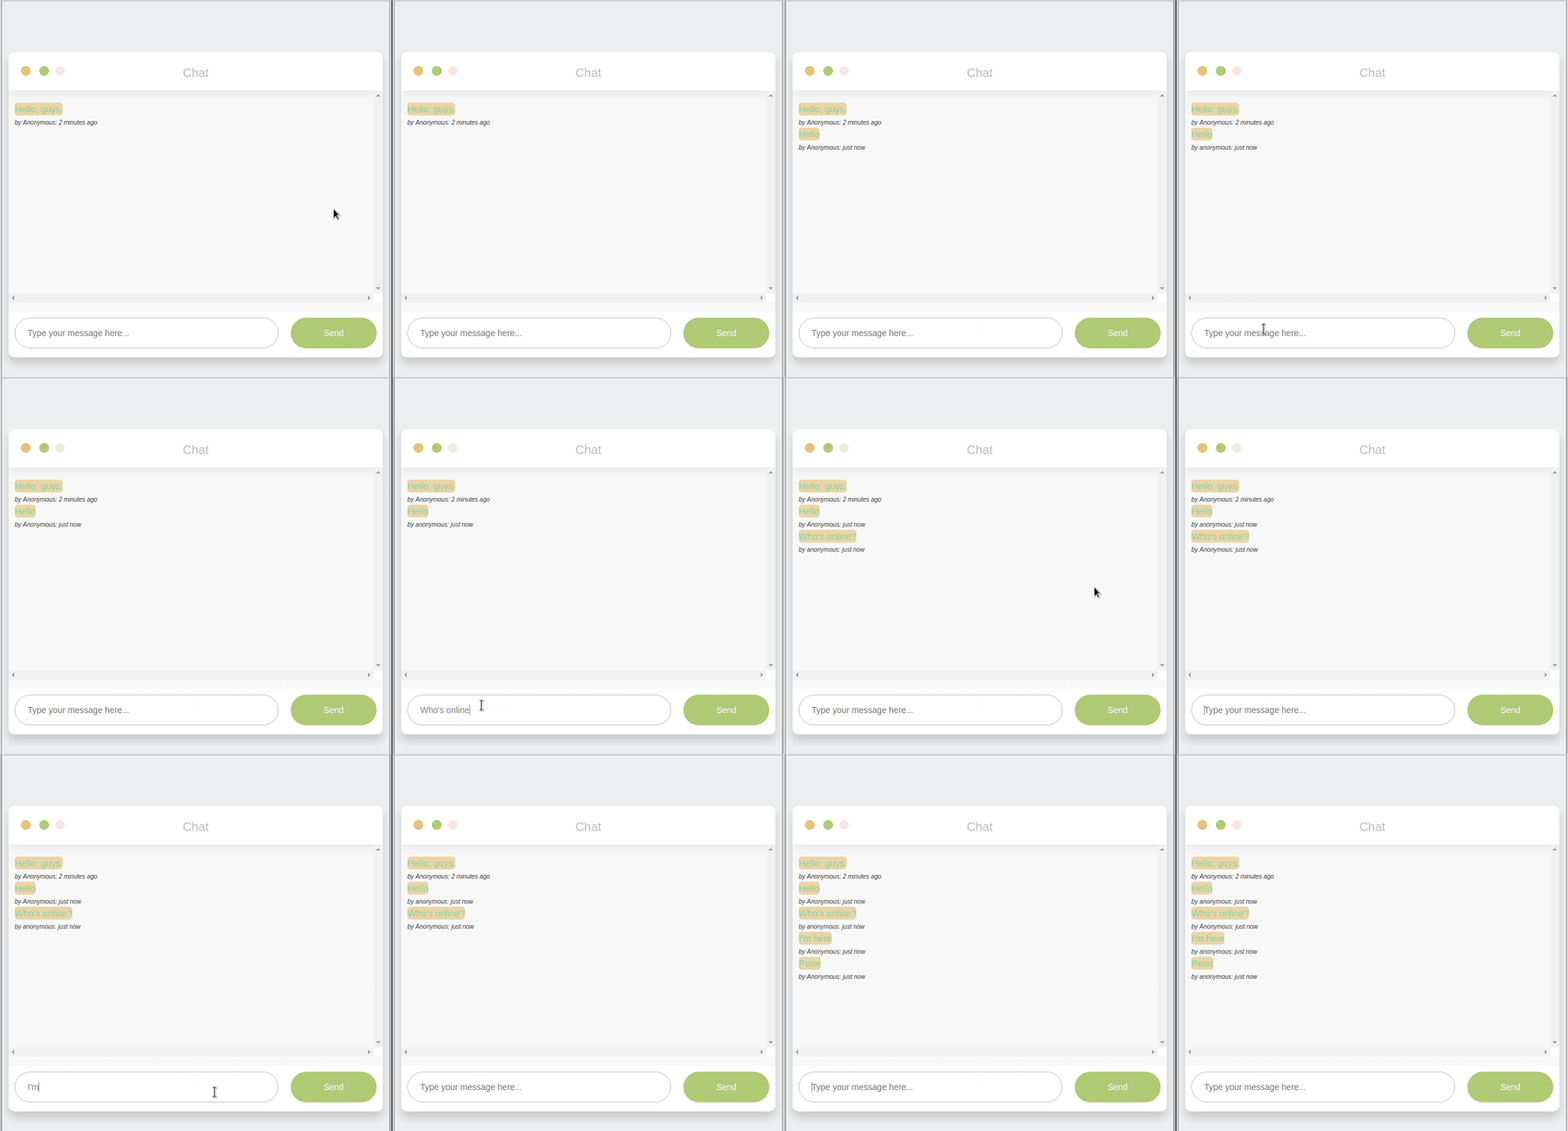
Output Example –

Why we use socket –
- Socket is a widely used java script library.
- Socket mostly use for real time data getting application.
- It enables the real-time, two-way and event based communication between the client and server.
- It’s build on javascript and node js client library.
- Some of it’s feature is – reliability, multi-group room support.
- A socket is bound to a port number so that the TCP layer can identify the application that data is destined to be sent to.
- An endpoint is a combination of an IP address and a port number.
How Socket IO works –
The server holds on the response until it has an update from backend after receiving it, the client sends another request, and needs additional header to be traversed back and forth causing additional overhead
make it possible to open interactive communication between the client and server. One can send a request to the server and receive event driven responses without Polling the server for a reply, making web sockets a best choice for our use case.
Important Method of Socket –
on –
On is use for the purpose of on the socket is 3 type.
- connect – for connecting with the server(syntax – socket.on(‘connect’, function(){});)
- event – use for listening the event from backend (syntax -socket.on(‘event’, function(data){});)
- disconnect – use for disconnect the event(syntax – socket.on(‘disconnect’, function(){});)
emit –
After established the connection between server and client by on, the two ends point can speak freely and without delay this one is more faster than HTTP requests, for sending the message over a use a channel.
Syntax –
socket.emit('channel-name', 'Hello Itechinsides!');
Requirements –
1) Use Rest API as backend(server side).
2) Use Socket.io as front end(app side) .
So what waiting for let’s start with the 1 step
1) Rest API as backend(server side) –
We need a backend server which handles all the incoming messages and requests from the clients, in our case we are going to use the Rest API for backend, you can use any other such as – firebase, node.js, express etc.
2) Use Socket.io as front end(app side) –
Please follow all the steps carefully for integrating socket.io in react native, let’s start –
Step 1 – Install the plugin
We are going to us socket.io-client plugin.
npm i socket.io-client --saveStep 2 – Import the plugin
Now you can import the plugin in which file you want to integrate the socket.
import SocketIOClient from 'socket.io-client';Step 3 – Set the state values
constructor(props) {
    super(props);
    setI18nConfig(); // set initial config
    this.state = {
      chatMessage: '',
      chatMessages: [],
    };
  }
Step 4 – Initialise the connection to the server
Now we are going to initialise the server connection in componentDid Mount.
  async componentDidMount() {
    this.connectWebSocketWatch();
  }
Provide the definition of function connectWebSocketWatch, here by using ‘on‘ method of ‘io’ module, we are going to change the array state by concating the new messages that are sent or received by the backend side.
 /* Socket connection */
  connectWebSocketWatch = () => {
    //put your backend serve url here
    this.socket = SocketIOClient('http://192.219.111.54:8800/');
    //get_message_ = this is a provide by backend.
    this.socket.on('get_message_', data => {
      var userMessageData = JSON.parse(data);
      var chatDataArray = [...this.state.userChatList];
      let message = [userMessageData];
      let newChatArray = message.concat(chatDataArray);
      this.setState({
        userChatList: newChatArray,
        chatMessage: '',
      });
    });
  };
Step 5 – Design the view
After successfully setup the socket, now we design the view of send message for sending the message.
render(){
 return (
       <View style={{flexDirection: 'row'}}>
                      <TextInput
                        style={{
                          width: '85%',
                          borderWidth: 0,
                          padding: 2,
                        }}
                        placeholder={'type_msg'}
                        autoCapitalize="none"
                        multiline
                        value={this.state.chatMessage}
                        onChangeText={chatMessage => {
                          this.setState({chatMessage});
                        }}
                      />
                      <TouchableOpacity
                        onPress={() => this.sendChatMessage()}
                        style={{
                          height: moderateScale(30),
                          backgroundColor: Colors.pink,
                          width: moderateScale(30),
                          margin: moderateScale(5),
                          // marginLeft: moderateScale(16),
                          marginRight: moderateScale(-5),
                          borderWidth: 0,
                          alignItems: 'center',
                          justifyContent: 'center',
                          borderRadius: moderateScale(50),
                        }}>
                        <Image
                          source={Images.send}
                          style={{
                            tintColor: Colors.white,
                            height: moderateScale(25),
                            width: moderateScale(25),
                          }}
                        />
                      </TouchableOpacity>
                    </View>
  )
}
Step 6 – Provide the definition of sendChatMessage()
Here we are going to provide the definition of send chat messages and integrate the rest API call.
 sendChatMessage() {
    if (this.state.chatMessage == '') {
      return;
    }
    NetInfo.fetch().then(async state => {
      if (state.isConnected == true) {
        this.apiSendMsg();// this is your API call
      } else {
        this.setState({isLoading: false}, function() {
          FunctionHelper.showAlert(StringUtils.INTERNET_CONNECTION);
        });
      }
    });
  }
So we completed the react native socket integration in this tutorial which is “How to integrate socket in react native app“.
You can find my post on medium as well click here please follow me on medium as well.
You can find my next post here.
If have any query/issue, please feel free to ask.
Happy Coding Guys.

Hi, I am a professional Ionic and React Native Pixel Perfect App Designer and Developer, with expertise in Client Communication, Bug Fixing, Third Party Lib, Version Control Tools, Requirement Understanding, and managing teams, I have 6+ years of experience in the same domain as well as in Codeigniter, JS, IoT, and more than 10 other languages. For the last 6+ years, not a single day went without design/development.
Please follow me on Medium: https://nehadwivedi1004.medium.com/


