
Why we use multipart form data –
In this article we are going to discuss about “How To Send Multipart Form Data in React Native“, may be you guys know why we use the multipart form data, but let i tell you that if you want to send the image in react native then you can use bit-64 or multipart form data.
bit-64 take more space because we need to install third party for this, so we prefer to use the multipart form data and for me it’s a best example for sending the image to server in react native.
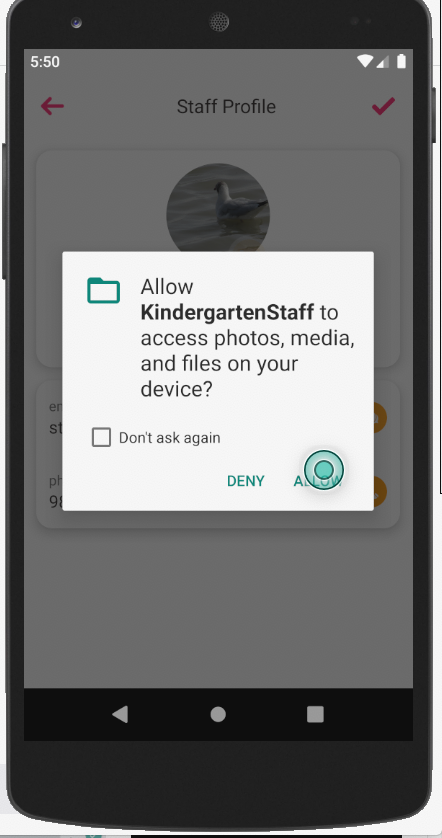
Output Example –
In this example will cover how to pick any image from your mobile system and upload it to the server, we are going to use FormData to upload the File on the server because, i do not like to add the third-party dependencies in my projects if i have any other option is available, so follow all the steps carefully.
Step 1 – App Creating
First we need to create the react native app for using multipart form data.
react-native init formDataTestStep 2 – Design the View
Here we are going to design the view for calling multipart data.
render(){
 return(
    <TouchableOpacity onPress={() => {
                        this.updateProfile();
                      }}
                      style={{
                        position: 'absolute',
                        right: 0,
                        bottom: 0,
                      }}>
                      <Image
                        source={Images.picture}
                        style={{
                          top: moderateScale(10),
                          height: moderateScale(40),
                          width: moderateScale(40),
                        }}
                      />
     </TouchableOpacity>
  )
}
Step 3 – Definition of function
Here we provide the definition of update profile function.
updateProfile = () => {
    Keyboard.dismiss();
    const {userName,lastName,phone_number,email,
       address,userSourceImg} = this.state;
      NetInfo.fetch().then(async state => {
        if (state.isConnected == true) {
          const formData = new FormData();
          formData.append('first_name', userName);
          formData.append('last_name', lastName);
          formData.append('phone_number', phone_number);
          formData.append('email', email);
          formData.append('address', address);
          formData.append('image', {
              uri: imageURI,
              type: "image/jpeg",
              name: "photo.jpg"
           })
          let res = await apiPostWithTokenAndImage(
            formData,
            WebAPIURL,
          );
          this.setState(async function() {
            if (res.status == OK) {
             Alert.alert('Success');
            }
            else {
              Alert.alert('Fail');
            }
          });
        } else {
            Alert.alert('Network Issue');
         }
      });
  };
Step 4 – Calling API
Here we are going to provide the definition of apiPostWithTokenAndImage, here we provide the functionality of API calling with multipart form data, this is a very important part.
const apiPostWithTokenAndImage = async (inputParam, apiName) => {
 //get your token here
  let token = await PreferenceManager.getPreference(TOKEN);
  let URL = WebAPI.BaseURL + apiName;
  console.log('URL:' + URL);
  let param = inputParam;
  let headers = {
    'Content-Type': 'multipart/form-data',// this is a imp line
    'User-Role': USER_ROLL,
    Authorization: 'Bearer ' + JSON.parse(token),
    Accept: 'application/json',
  };
  let obj = {
    method: 'POST',
    headers: headers,
    body: param,
  };
  return fetch(URL, obj)// put your API URL here
    .then(resp => {
      let json = null;
      json = resp.json();
      console.log(apiName + ' Response', json);
      if (resp.ok) {
        return json;
      }
      return json.then(err => {
        console.log('error :', err);
        throw err;
      });
    })
    .then(json => json);
};
Step 5 – Run app
Now everything is done, we are going to run the app
react-native run-android
       or
react-native run-ios
Some Common Issue –
Network Request Failed Issue –
This is a very common issue which you face at the time of implementing the multipart form data, then all these steps and if still it not resolved then comment, i’ll help you.
1) MainApplication.java –
comment below line:
 //initializeFlipper(this, getReactNativeHost().getReactInstanceManager());
2) ReactNativeFlipper.java –
Comment the below line:
public void apply(OkHttpClient.Builder builder) {
              //.addNetworkInterceptor(new
             FlipperOkhttpInterceptor(networkFlipperPlugin));
  }
3) AndroidManifest.xml –
Add the usesCleartextTraffic=”true” in your manifest file, it look like –
<application android:usesCleartextTraffic="true" tools:targetApi="28" tools:ignore="GoogleAppIndexingWarning" />
4) And create a separate function for image name –
 static GetFilename = (url) => {
    if (url) {
        var m = url.split('/').pop().split('#')[0].split('?')[0]
        return m;
    }
    return "";
}
So we completed the react native multipart form data which is “How To Send Multipart Form Data in React Native“.
You can find my post on medium as well click here please follow me on medium as well.
You can find my next post here.
If have any query/issue, please feel free to ask.
Happy Coding Guys.

Hi, I am a professional Ionic and React Native Pixel Perfect App Designer and Developer, with expertise in Client Communication, Bug Fixing, Third Party Lib, Version Control Tools, Requirement Understanding, and managing teams, I have 6+ years of experience in the same domain as well as in Codeigniter, JS, IoT, and more than 10 other languages. For the last 6+ years, not a single day went without design/development.
Please follow me on Medium: https://nehadwivedi1004.medium.com/